


Push-to-Connect Fittings Installation Guide: 7 Mistakes That Reduce Pneumatic System Performance
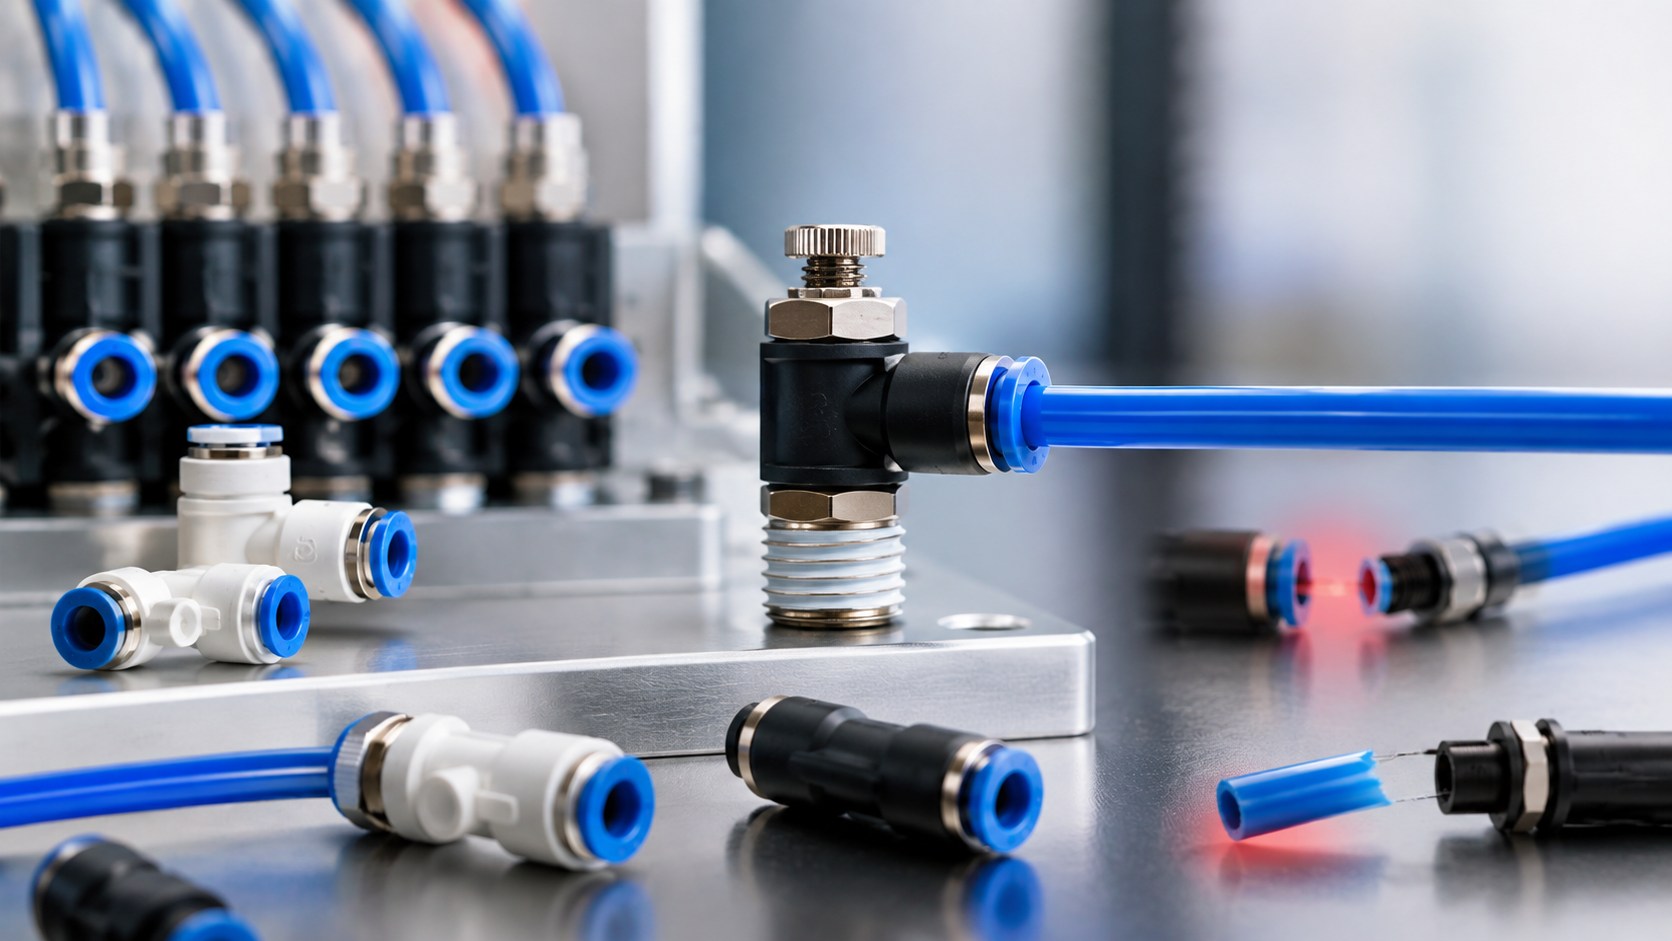
While push-to-connect fittings offer a rapid assembly process, they can prove unforgiving towards erroneous tube preparation and assembly procedures. Seven common mistakes that can occur during the assembly of these fittings include obtuse cut tube ends, incorrect tube size selection, insufficient insertion, improper thread engagement, excessive side loading, contamination, and neglecting the final leak test. These mistakes can lead to increased air loss in pneumatic systems, reduced tube retention, and intermittent failures upon machine startup. For Original Equipment Manufacturer (OEM) assemblers, maintenance technicians, and pneumatic-system buyers, the emphasis is on achieving fast assembly and ensuring each connection is repeatable to yield the same result upon installation.
Why Do Small Installation Mistakes Affect Pneumatic System Performance?
A push-to-connect fitting relies on several parts working together. The tube enters the fitting, passes the gripping mechanism, and reaches the sealing area. The grip prevents pullout while the internal seal contacts the tube OD. If the tube is damaged, undersized, partly inserted, or continuously pulled sideways, the connection no longer works under the conditions for which it was designed.
What should be confirmed before installation starts?
Before cutting tubing, confirm tube outside diameter, tube material, fitting configuration, thread standard, operating pressure, and routing space. This is especially important in factories where metric and inch components are stocked together.
The connection type should also suit the maintenance requirement. Buyers still deciding between installation methods can review Push-to-Connect Fittings vs Threaded Fittings before standardizing a new machine platform.
Which Tube-Preparation Mistakes Cause Push-to-Connect Fittings to Leak?
Three of the seven common mistakes occur before or during tube insertion. They are easy to prevent, but difficult to diagnose once the tube is hidden inside a crowded cabinet.
Mistake 1: Cutting the pneumatic tube at an angle
The tube end should be square and not have crushing, deep scratches, or burrs. Scissors and blunt cutters can permanently damage soft tubing, leaving an uneven or angled end that will not pass through the seal smoothly.
Use proper tube cutting tools in order to avoid these issues. Should the first few millimeters of the tube end be compromised, cut that portion off rather than attempting to feed it into the fitting. The same consideration should be given to a previously connected end of a re-used tube. If a tube has been connected and disconnected before, do not attempt to reuse the section that has been previously gripped by the quick connect fitting.
Mistake 2: Selecting the fitting by appearance instead of tube OD
Push-to-connect fittings are normally matched to tube outside diameter. A 6 mm tube and a similar-looking inch tube should not be treated as interchangeable. Tube material also changes the way the connection behaves.
Flexible 폴리우레탄 공압 튜브 and stiffer nylon tubing can produce different insertion, gripping, and bending behavior. The fitting supplier should state which tubing materials and OD range are suitable.
Reducers deserve extra attention. The PG 시리즈 감속 유니온 직선형 푸시 투 커넥트 피팅 connects two different tube ODs, so installers must confirm which size belongs at each port before assembly.
Mistake 3: Stopping before the tube is fully inserted
A partly inserted tube can feel secure because the gripping element has already contacted it. That does not prove that the tube has reached the correct sealing position.
Push the tube straight in until it reaches the internal stop, then perform a light pull check. If insertion force feels unusually high, remove the tube and inspect the cut, OD, material, and fitting size rather than applying more force.
Which Mechanical Installation Mistakes Damage the Connection?
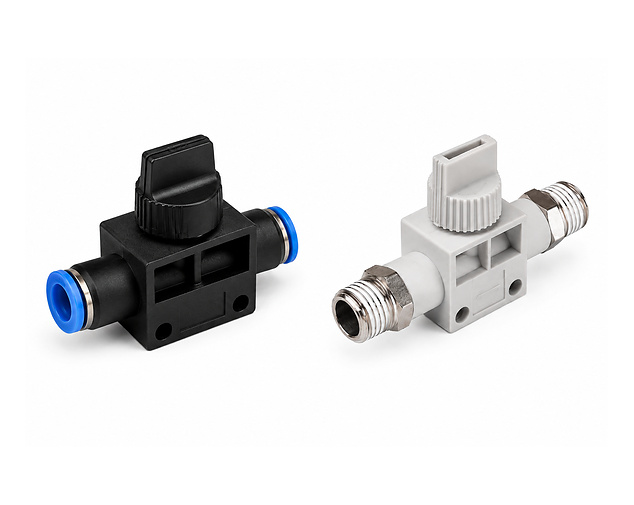
The next two mistakes usually involve the threaded side of the fitting or the way the tubing is routed after installation.
Mistake 4: Using the wrong thread or over-tightening the fitting
NPT, R/BSPT, G/BSPP, and metric threads can have the same nominal size, but different geometry and sealing methods. A fitting that begins to thread into a port is not necessarily the right choice.
Refer to the equipment drawing and use the specified thread. Another common mistake is over-tightening – excessive torque can crush polymer bodies, deform some machine ports, and create service problems for the fitter. Tightening specifications in fittings should always be the minimum necessary to obtain the specified seal, not what the installer thinks is enough.
Mistake 5: Forcing the tube into a sharp bend beside the fitting
Tubing that leaves a fitting under constant sideways force transfers that load into the seal and gripping mechanism. On moving machinery, every cycle can repeat the same stress.
Allow enough tube length for a natural bend. Where the tube must turn immediately after the port, an elbow or another configuration from the 피팅 &연결관 range may produce a cleaner installation than forcing a straight connector into an unsuitable layout.
Which Cleanliness and Commissioning Mistakes Are Often Missed?
A connection can be correctly sized and still fail because dirt enters the seal or because nobody verifies the finished circuit.
Mistake 6: Allowing contamination into the fitting
Tube fragments, dust, metal chips, and loose thread-sealing material must be kept out of the system. They may adversely affect the fit of the fitting or be carried through the line into the valves and actuators.
Tube ends should be kept covered until ready to install if possible and inspected before being inserted into another fitting. The type of thread-sealing medium used must be the type specified for the particular type of threads being used. More sealant is not automatically safer; excess material can enter the air path.
Mistake 7: Skipping the leak and retention check
Installation is not complete when the final tube has been pushed into place. The circuit should be pressurized under controlled conditions and checked for leakage, movement, and poor routing.
An audible check may identify a large leak, but important production systems benefit from a defined test method. Where leakage limits matter, specify test pressure, dwell time, acceptance criterion, and the tubing used during the test. Recheck connections after machine motion if cylinders, robots, or moving fixtures can change tube loading.
What Should Buyers and Maintenance Teams Standardize Before Machine Start-Up?
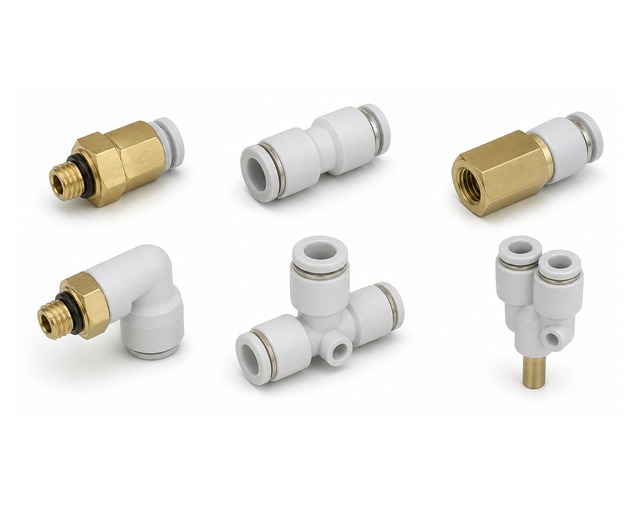
A short acceptance checklist makes installation less dependent on individual experience. For repeat OEM production, the same points can also be added to workstation instructions and incoming component approval.
| Check Point | Acceptance Requirement |
|---|---|
| Tube end | Square, clean, undamaged |
| 튜브 크기 | Correct OD and metric/inch system |
| Tube material | Compatible with fitting specification |
| Insertion | Fully inserted with retention check |
| Thread | Correct standard and size |
| Routing | No severe bend or continuous side load |
| Cleanliness | No chips or loose sealant |
| Commissioning | Leak and retention check completed |
If a connection still leaks after these checks, isolate the location before replacing parts. Inspect the tube surface, fitting seal, gripping mechanism, thread interface, and machine port separately. Replacing a fitting without finding the leak path can reproduce the same fault.
How Can Yantai Aisili New Material Co., Ltd. Support Push-to-Connect Fitting Projects?
Yantai Aisili 새로운 재료 Co., Ltd. supplies polyurethane and multi-material pneumatic tubing together with fittings for industrial pneumatic systems. For OEM, distributor, and equipment-maintenance projects, buyers can provide tube OD, tube material, fitting configuration, thread standard, working pressure, temperature, installation environment, and expected quantity before sample approval. Where a fitting is intended for repeat machine production, the tube and connector can be evaluated as one interface instead of two unrelated components. Buyers can also define drawing, packaging, labeling, sample, and inspection requirements before volume purchasing, reducing the risk of discovering dimensional or installation differences during final machine assembly.
결론
A properly installed push-to-connect fitting relies on several simple factors that need to be consistently followed. They include square fitting cuts, proper fittings for the tube’s OD and material, insertion of tube to its full depth before tightening, correct thread engagement, rational routing, clean assembly, and final leak checking. Each step is easy, but a mistake in any of them creates a future source of equipment failure. To standardize the installation process, convert the seven installation errors into a seven-step list in the form of a workstation checklist that fits the particular type of fittings being installed. These checkmarks will ensure that each fitting is compatible with the tubing in terms of size, material, and routing.
자주 묻는 질문
1. How far should tubing be inserted into a push-to-connect fitting?
The tube should be inserted until it reaches the fitting’s internal stop. Because insertion depth varies by model and size, technicians should not use one fixed depth measurement for every pneumatic fitting.
2. Why does a new push-to-connect fitting leak after installation?
First inspect tube cut quality, OD, surface damage, insertion depth, side load, and thread sealing. A new fitting can leak because of installation conditions even when the component itself is undamaged.
3. Can metric tubing be installed in an inch push-to-connect fitting?
Do not substitute sizes because they look similar. Push-to-connect seals depend on the specified tube OD, so metric and inch tubing should only be interchanged when the fitting manufacturer explicitly permits it.
4. Can polyurethane and nylon tubing use the same pneumatic fitting?
Some fitting designs accept both materials, but compatibility should be confirmed for the exact model. Tube hardness, OD tolerance, pressure, temperature, and gripping behavior can differ between polyurethane and nylon.
5. Should every push-to-connect fitting be leak-tested after installation?
The completed pneumatic circuit should be checked after assembly. For production equipment with defined leakage requirements, use an agreed pressure, test duration, and acceptance method rather than relying only on an audible inspection.